Override Cherwell images with custom files
When archiving Cherwell systems, Cortex renders images using its default image resolution logic. The Image Override feature lets you map specific Cherwell image values to custom image files, so you can replace default or missing images with your own branded or corrected versions.
When an image value is requested, Cortex checks the Image Override list. If there's a matching entry, it serves the specified file from the icons folder instead of running its normal resolution logic.
Before you begin
- You need administrator access in Cortex.
- The custom image files must already be placed on the server in the
wwwroot/iconsfolder. - You need to know the image values from your Cherwell system that you want to override.
[!NOTE] Files must be manually placed in the
wwwroot/iconsfolder on the Cortex server. Only the filename (not a path) is specified in Cortex. Cortex does not provide a file upload button for this feature.
[!WARNING] Double-check that each filename is correct and that the image preview shows properly. If the image does not appear in the preview here, it will not appear on forms either. Custom images are not guaranteed to load in every context.
Configure Image Overrides
-
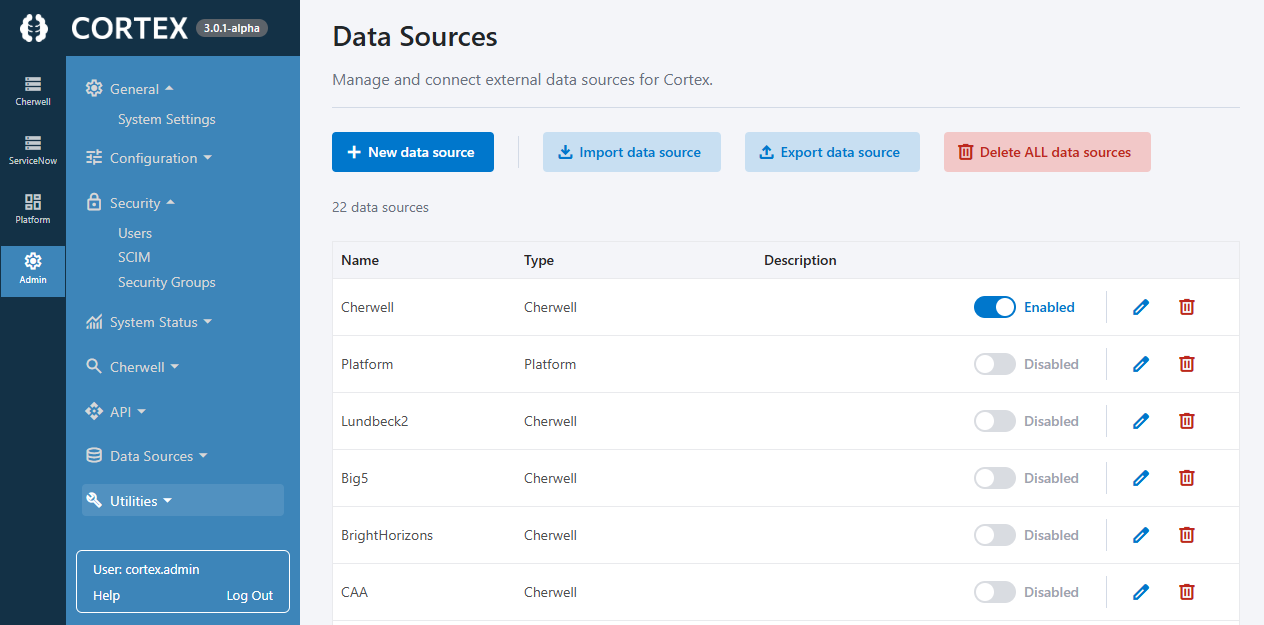
Navigate to Admin → Data Sources → Edit Data Sources (or go directly to the Data Sources page).
-
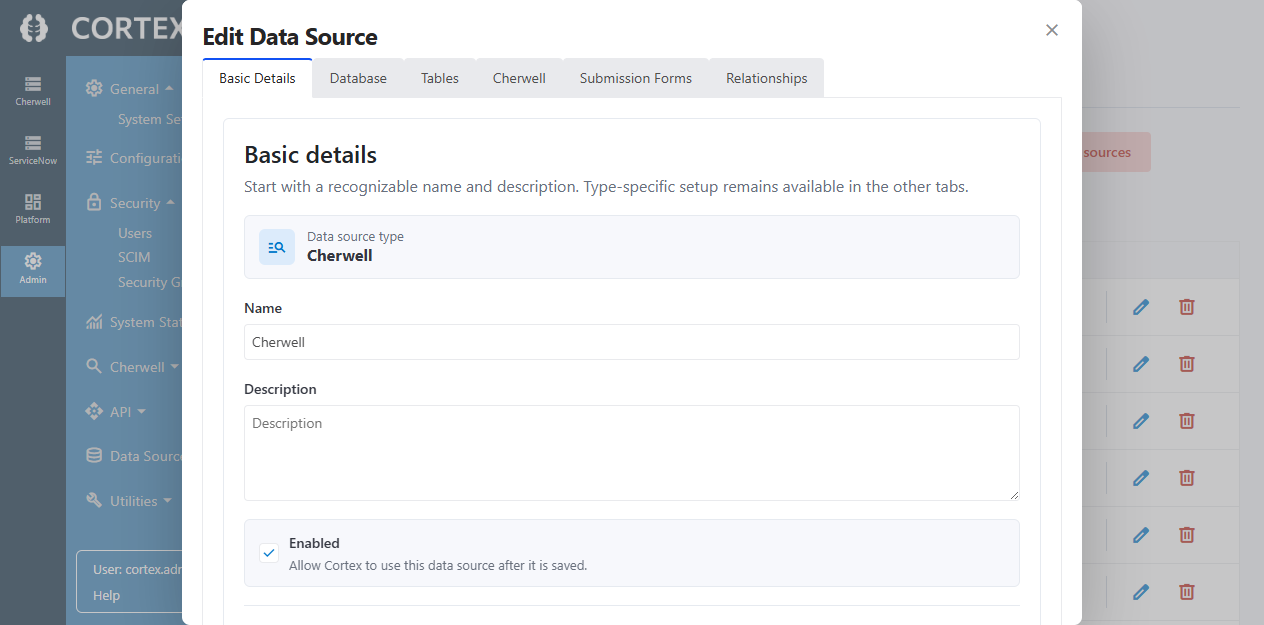
Edit an existing Cherwell data source.
-
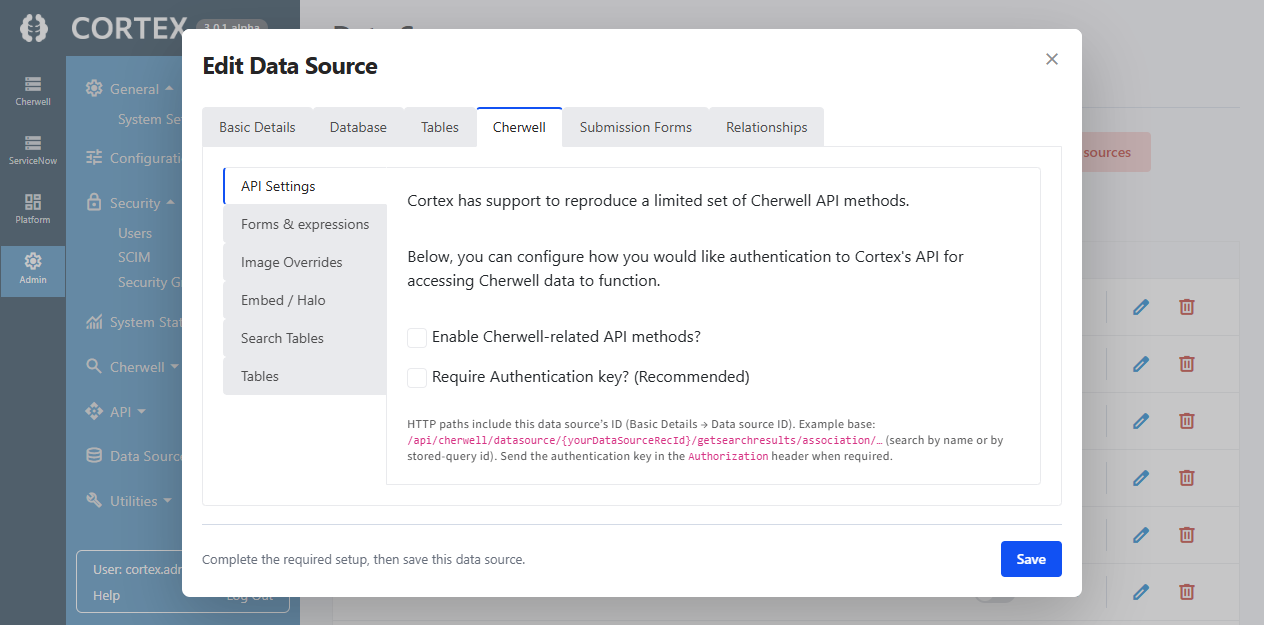
In the data source editor, open the Cherwell tab at the top.
-
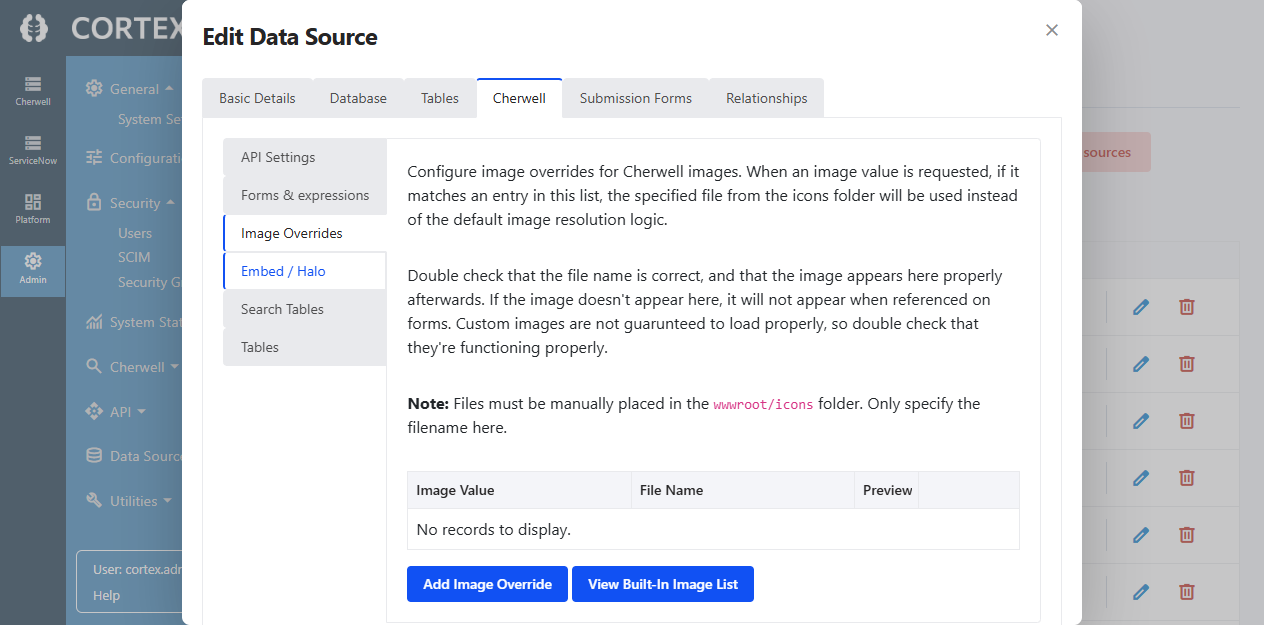
In the left-hand sidebar, open Forms & expressions, then select Image Overrides.
-
You'll see a table with columns for Image Value, File Name, and Preview, along with two buttons at the bottom:
- Add Image Override — add a new mapping entry
- View Built-In Image List — see the list of default images provided by the system
-
Click Add Image Override. An inline form appears in the table with two fields:
Field Description Image Value The Cherwell image value to match (e.g. IMG_001,status_closed, etc.)File Name The name of the image file in the wwwroot/iconsfolder (e.g.custom-closed.png)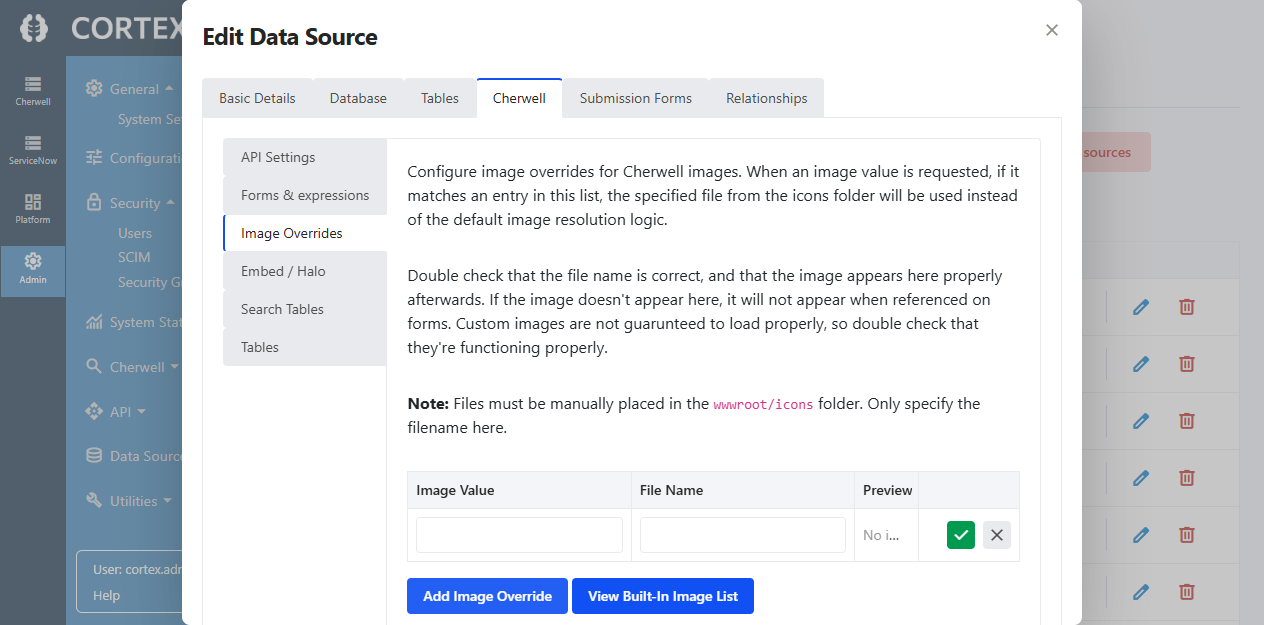
-
Fill in the Image Value and File Name fields, then click the Save (checkmark) icon. The Preview column will attempt to render the image from the
iconsfolder. -
Repeat for each image you want to override.
-
Click Save at the bottom of the editor to persist the changes to the data source.
Using the Built-In Image List
Click View Built-In Image List to see all default images provided by the system. This can help you identify image values used in your Cherwell forms so you know which ones to override.
Adding a New Data Source with Image Overrides
You can also configure image overrides when creating a new Cherwell data source:
- On the Data Sources page, click New data source.
- Set the Type to Cherwell and fill in the basic details.
- Configure the Database and Tables tabs as needed.
- Open the Cherwell tab, then navigate to Forms & expressions → Image Overrides.
- Add your overrides following the same steps as above.
- Click Save to create the data source with the overrides configured.
Image File Requirements
- Files are stored in the
wwwroot/iconsfolder on the Cortex server. - Only the filename is entered in the File Name field — no path prefix is needed.
- Common supported image formats include PNG, JPG, GIF, and SVG.
- Ensure the file has proper read permissions for the Cortex application pool identity.
Troubleshooting
- Image not showing in preview: Verify the file exists in
wwwroot/iconsand that the filename (including extension) matches exactly what you entered in the File Name field. Check that the Cortex application has read access to the file. - Image not showing on forms: The image override only applies when the Cherwell image value matches what you configured. Use the Built-In Image List to verify the correct value.
- Custom images not loading in certain contexts: Not all image rendering paths in Cortex honor overrides. Form-level image overrides work reliably, but other areas may not.