Adding Users
This page describes user and security group management for Cherwell (CSM) deployments. Security group configuration for other source systems works differently and is not covered here.
Internal users can be created and managed from the User Management page.
Accessing User Management
- Navigate to the left-hand navigation menu.
- Select Admin.
- Click User Management.
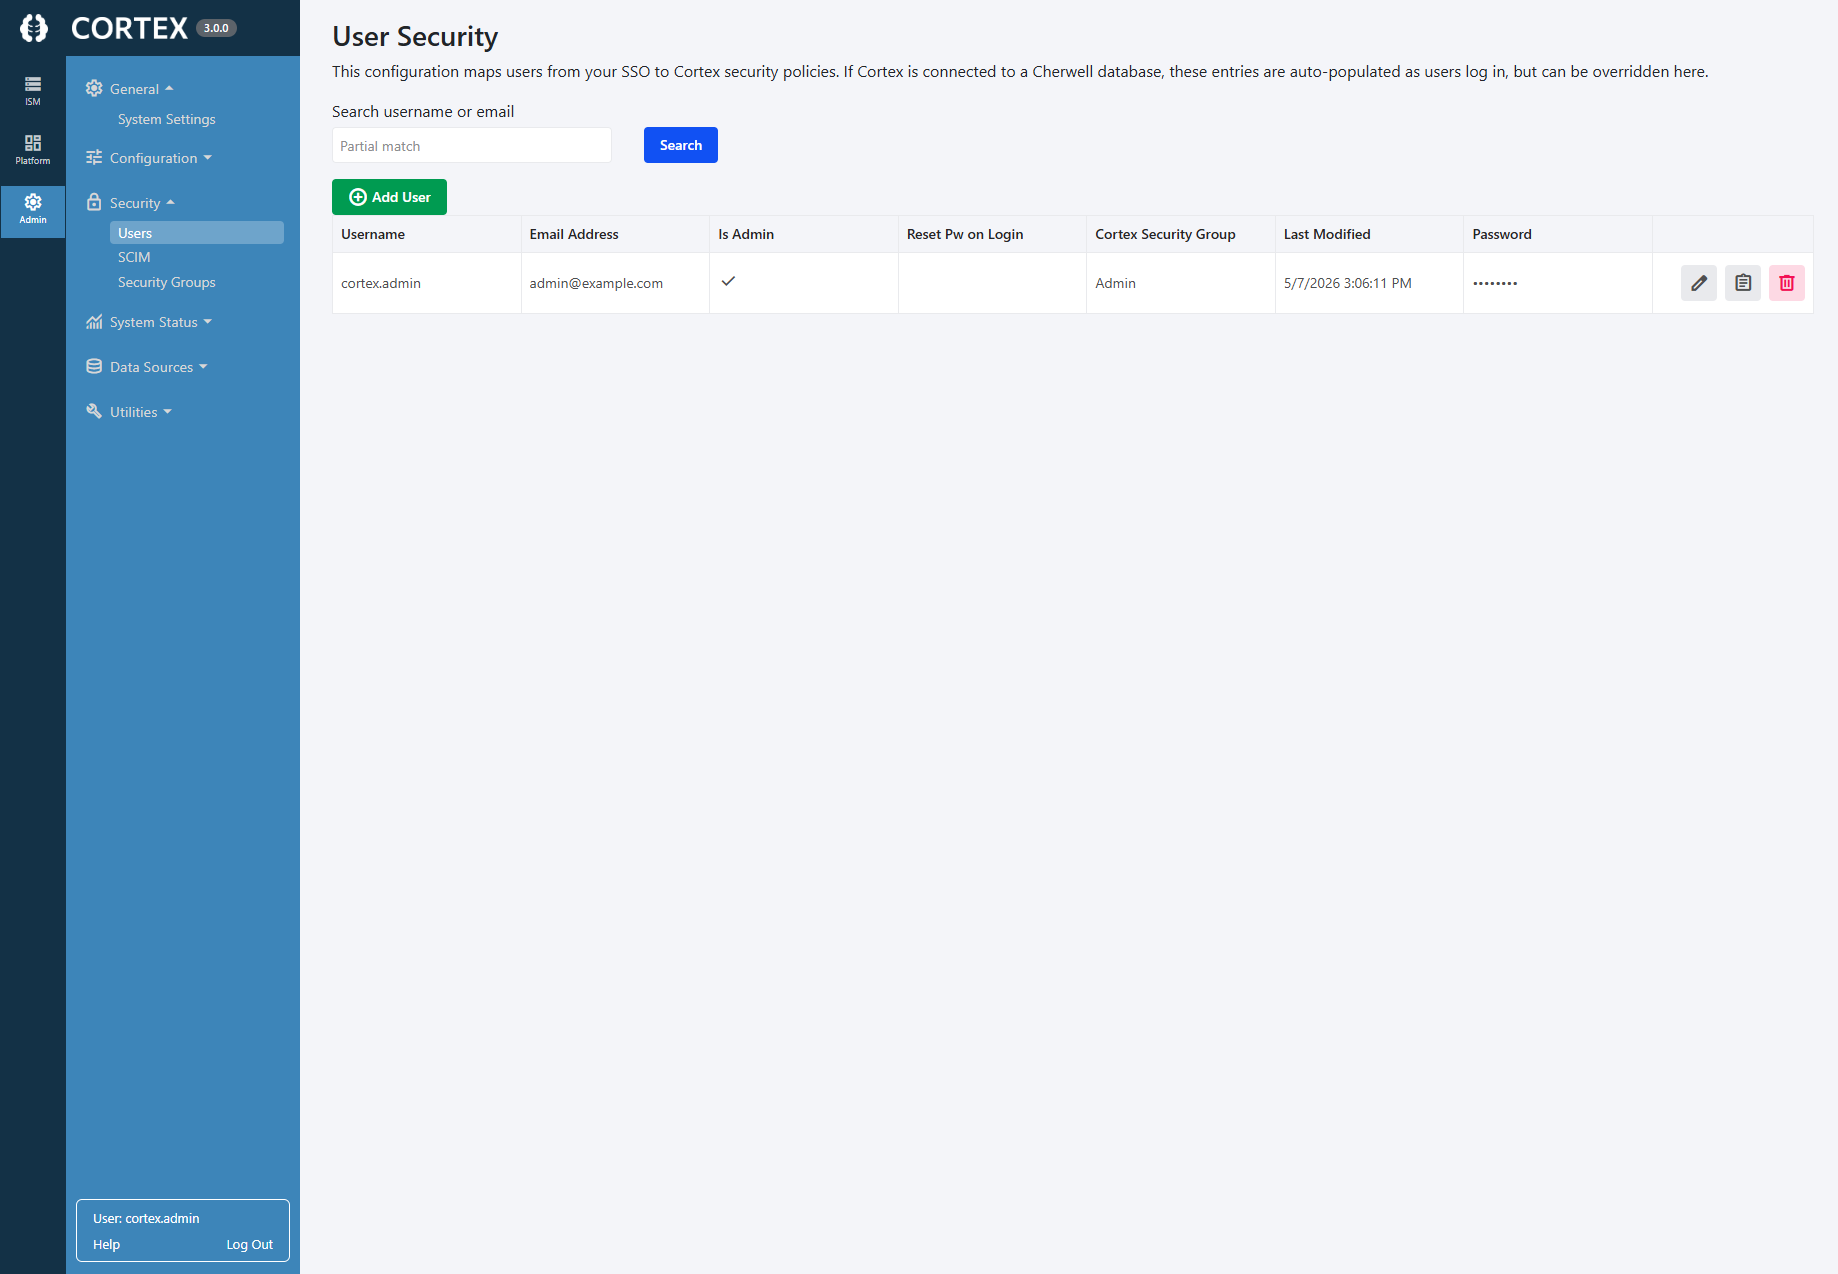
Creating a New User
To manually create a new internal user:
- Click Add User.
- Enter a Username / Email Address.
- Assign the appropriate Security Groups.
- Save the user.
Once saved, the user will be able to sign in using Internal authentication.
If the User Already Attempted Login
If a user has already attempted to sign in to Cortex, they will appear in the Users list automatically.
However, they will not be able to see any records until they are assigned a Cherwell Security Group.
To assign security groups:
- Click the Edit icon next to the user.
- Assign the appropriate security groups.
- Save changes.
Understanding Security Groups
There are two types of security groups that can be assigned to users.
Cherwell Security Group
- Pulled directly from your Cherwell database
- Controls access to Cherwell data
- Determines which tables a user can access, record-level conditions, and data visibility permissions
- These configurations are read-only within Cortex
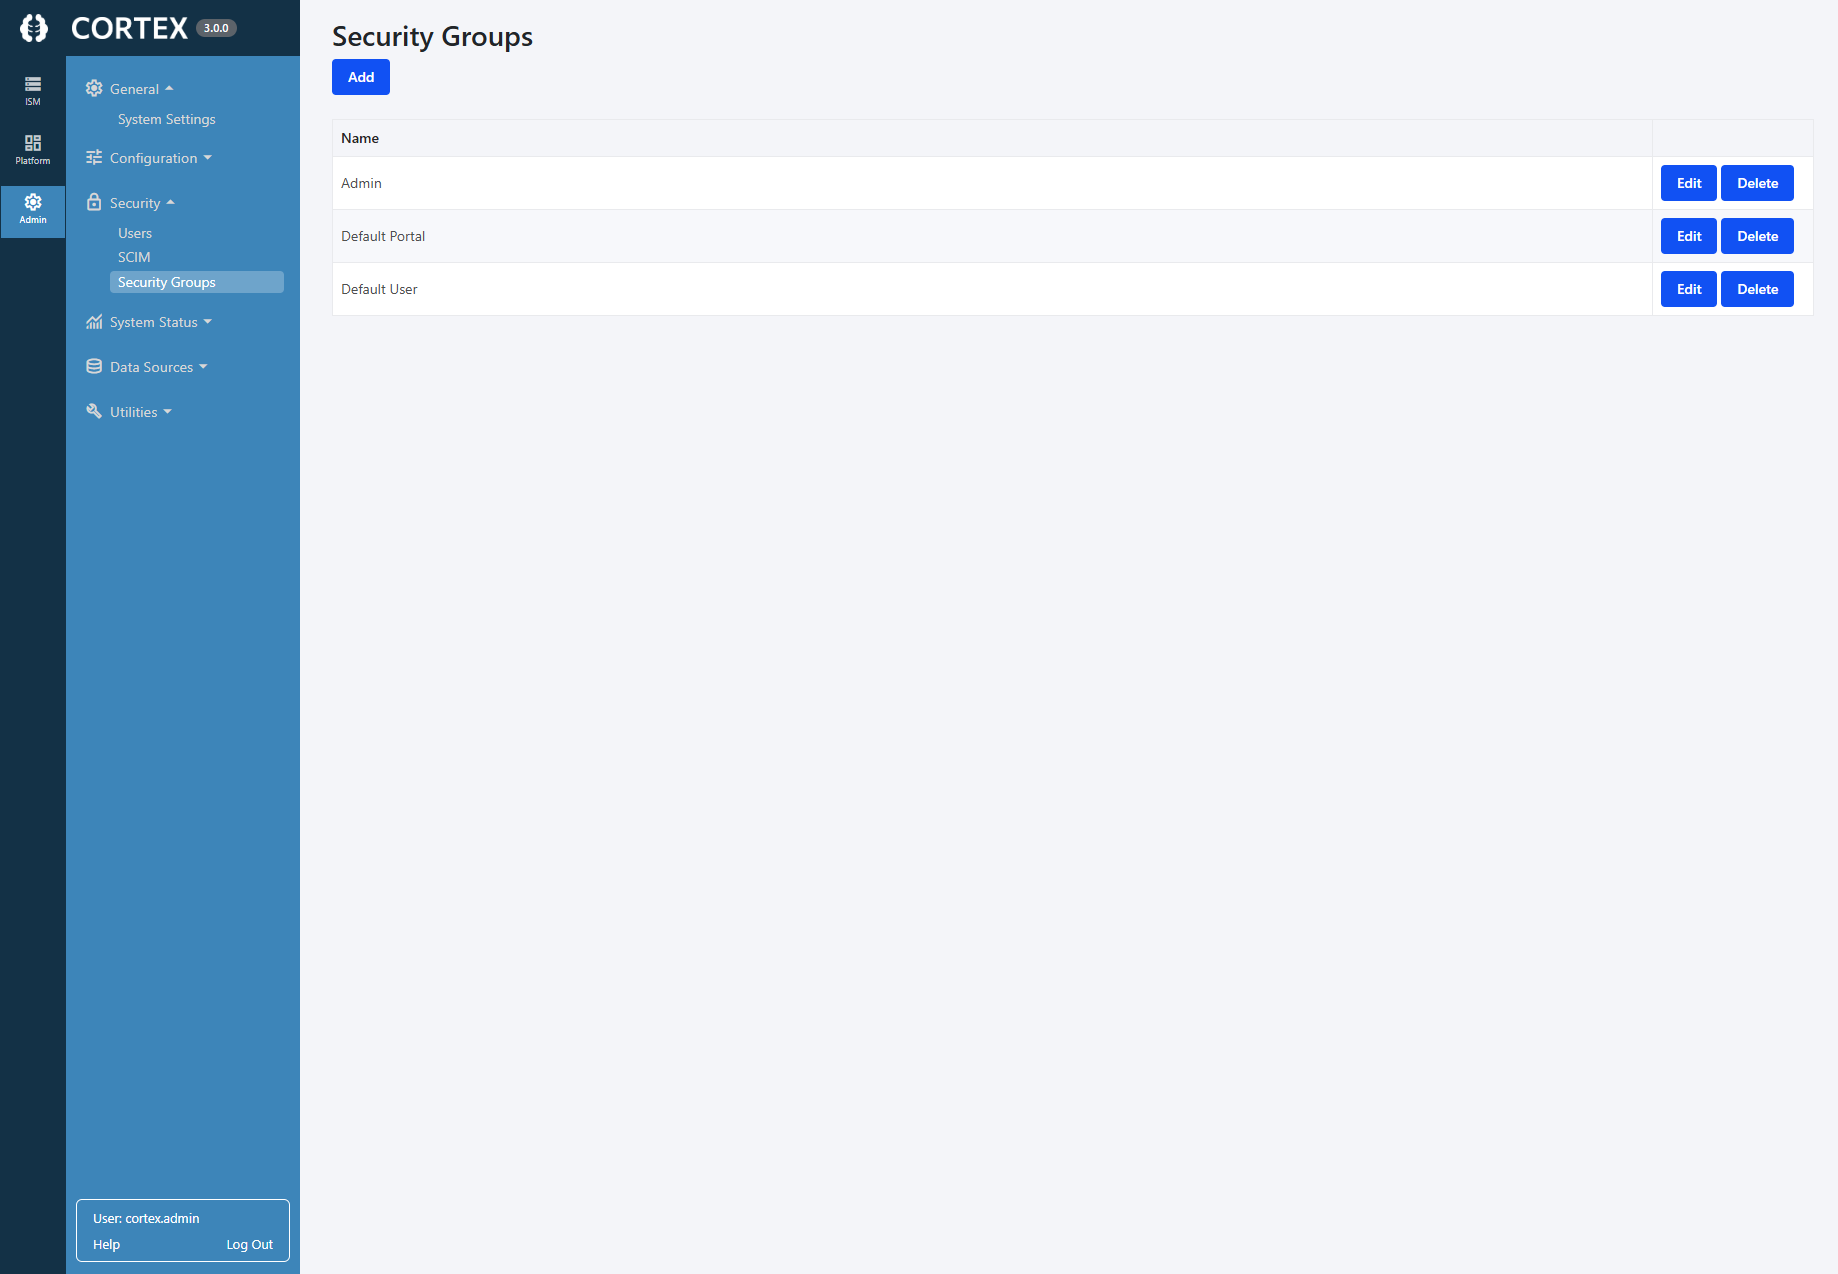
Cortex Security Group
- Controls permissions specific to Cortex functionality
- Examples include the ability to define global saved searches and access to Cortex-specific features
- Configurable under Admin -> Security Groups
By default, most non-admin users can be assigned to the Default User Cortex security group.
Important Notes
- Users must have a Cherwell Security Group assigned before they can access any data.
- Cortex Security Groups control Cortex behavior only - not Cherwell data access.
- Cherwell permissions always originate from the Cherwell system itself.