SAML with Azure AD (Entra ID)
Prerequisites
- Cortex must be running at a stable URL that will not change. This URL is used as part of the SAML configuration and is referred to throughout this page as
<your cortex url>and in configuration asPublicUri. - Cortex should be running on HTTPS with a valid certificate.
Step 1 - Configure Cortex as an Enterprise Application in Azure AD
-
In Azure AD, create a new Enterprise Application.
- Enter
Cortexfor the name. - Choose the option to integrate an application not found in the gallery.
- Enter
-
Once created, go to Manage > Single Sign-on and choose SAML. Under section 1, set:
- Identifier (Entity ID) - your Cortex URL. This should include
https://. - Reply URL -
<your cortex url>/saml-assertion - Leave all other fields blank (unless you are using IdP-initiated SAML, in which case enter your Cortex URL under Sign on URL).
- Identifier (Entity ID) - your Cortex URL. This should include
-
Copy the App Federation Metadata URL from section 3. You will use this as the
IdPMetadataUrivalue in Cortex. -
Assign users or groups to the enterprise app. This controls who is allowed to authenticate to Cortex at all. Note: this is separate from the security group permissions that control what data a user can access inside Cortex.
Step 2 - Configure Cortex
On Windows, the preferred way to set these values is the Cortex System Manager - it writes the same settings to appsettings.json for you and validates them before saving. If Cortex is not running on Windows, or you would rather edit the file directly, use the appsettings.json option instead.
Option 1 - Configure with Cortex System Manager (Windows)
-
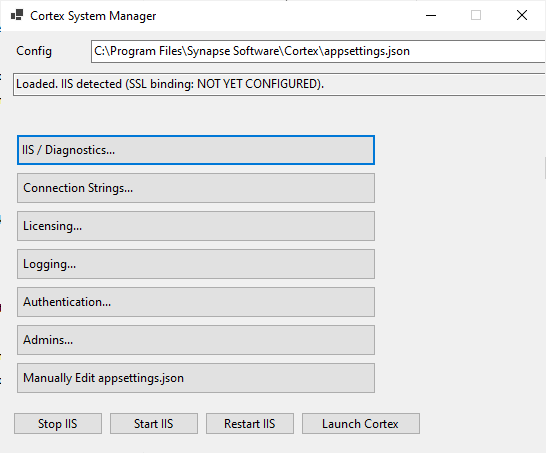
Open Cortex System Manager. You can find it from the desktop shortcut, or by running
Cortex.Config.exedirectly from the Cortex installation directory. -
Click Authentication....
-
Set Type to
saml. The SAML section appears. -
Fill in the SAML section:
- IdPMetadataUri - the App Federation Metadata URL you copied in Step 1.
- PublicUri -
<your cortex url>. - CertificateValidationMode -
None, unless your environment requires a stricter mode.
-
If Azure AD identifies users by email address, set LookUpBy to
email. -
Click SAVE.
Option 2 - Edit appsettings.json
In appsettings.json, set the authentication type to saml:
{
  "Authentication": {
    "Type": "saml",
    "Saml": {
      "IdPMetadataUri": "https://login.microsoftonline.com/YOUR-TENANT-ID/federationmetadata/...",
      "PublicUri": "https://your-cortex-url",
      "CertificateValidationMode": "None"
    }
  }
}
You will also likely need to set LookUpBy to Email in the Authentication block. Try without it first - if you appear logged in but have no access to any Business Objects and see an email address in the bottom-left corner, add this setting.
Restart IIS to apply the changes
Cortex reads these settings when it starts, so the change does not take effect until IIS is restarted:
- In Cortex System Manager, click Restart IIS at the bottom of the window.
- In an elevated command prompt, run
iisreset. - In IIS Manager, recycle the Cortex application pool.
If you edited appsettings.json by hand, save the file before restarting.
Additional Options
Start with the setup above, then change one option at a time and re-test. Depending on the type of misconfiguration, you may see feedback in the UI or in the logs.
The following options are listed in Block:SubBlock:Setting format. In appsettings.json this maps to nested JSON blocks. In environment variables, replace : with __ (for example, Authentication__Saml__ForceAuthn).
| Setting | Description |
|---|---|
Authentication:LookUpBy | Set to Email if your IdP identifies users by email address |
Authentication:IdentifierClaim | The name of the claim your IdP sends to identify users - could be emailAddress or a URL-style claim |
Authentication:Saml:RevocationMode | Controls whether the IdP's certificate is checked for expiry and revocation |
Authentication:Saml:ForceAuthn | Forces the user to re-enter credentials on the IdP login screen even if they already have an active session. Equivalent to Cherwell's "Authentication: Force" setting. |
Troubleshooting
If login fails or users are not recognised, see: